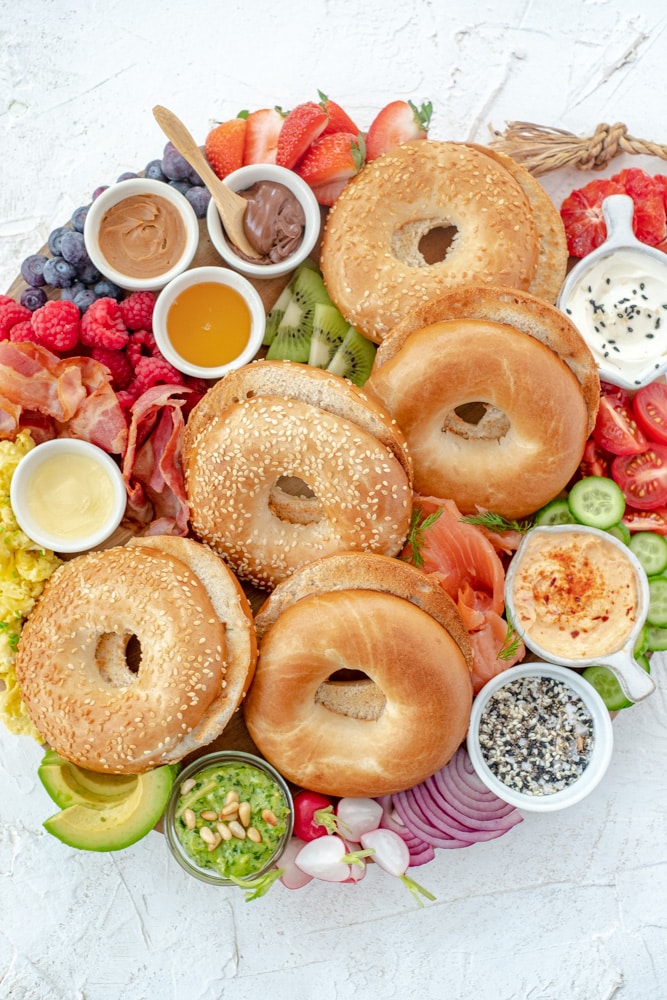
Have you seen those impressive cheese boards all over social media? Giant boards piled high with good things, the kind you want to dive right into. Here’s how to make a cheese board at home in 10 steps, for your next party, date night or happy hour.
I made a board for 6 to 8 people, but you can make yours as big or as small as you like. Follow my tips and your cheese board will be a hit, whatever its size.

Step 1: Pick the right base
Most boards start with a wooden board. The bigger the board, the more goodness fits on it. Hosting four? A round or square board does the job. With a larger group, a long rectangular board makes it easier for everyone to reach.
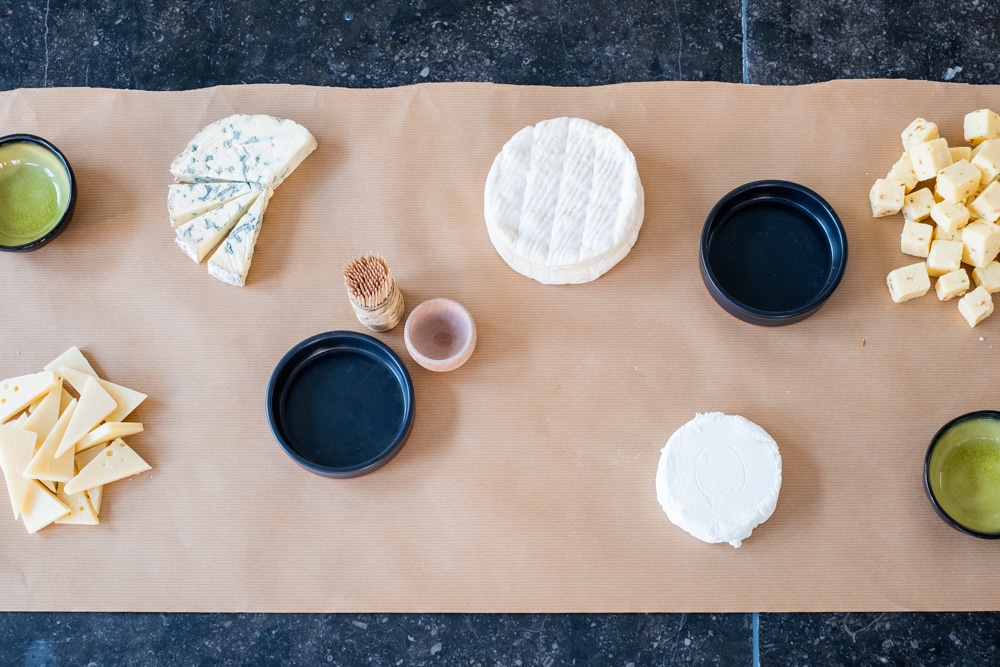
Or go for a budget friendly option, like I did. Roll out kraft paper (brown wrapping paper) down the middle of the table like a table runner, using two layers so moisture doesn’t seep through. Build your cheese board right on top. You can also serve the board on the paper on your kitchen island, with the drinks next to it, buffet style.
Step 2: Choose the cheese
Aim for a good variety of flavors, textures and looks (for the presentation). One thing we often skip, but that adds a lot of life to a board, is pre-cutting some of the cheeses. It makes it easier for your guests to take a piece, and it’s more inviting to be the first to dig in, especially on an appetizer board. Cut some cheeses into cubes, others into triangles, and slice a few “sample” pieces off the softer ones. Take the cheese out of the fridge an hour before your guests arrive. It tastes best at room temperature.
How do you pick? Mix these types (at least 4 or 5 different cheeses) and plan on about 200 g (7 oz) of cheese per person if the board is dinner, or half that as an appetizer:
- Creamy soft cheese, like Camembert, Brie or Chaumes
- Goat cheese, plain or flavored with honey, herbs and more
- Mild hard cheese, like Comté or Oud Brugge (a Belgian cheese)
- Sharp hard cheese, like Pecorino or Parmesan
- Blue cheese, like Roquefort or Stilton
Step 3: Think of the non-cheese lovers
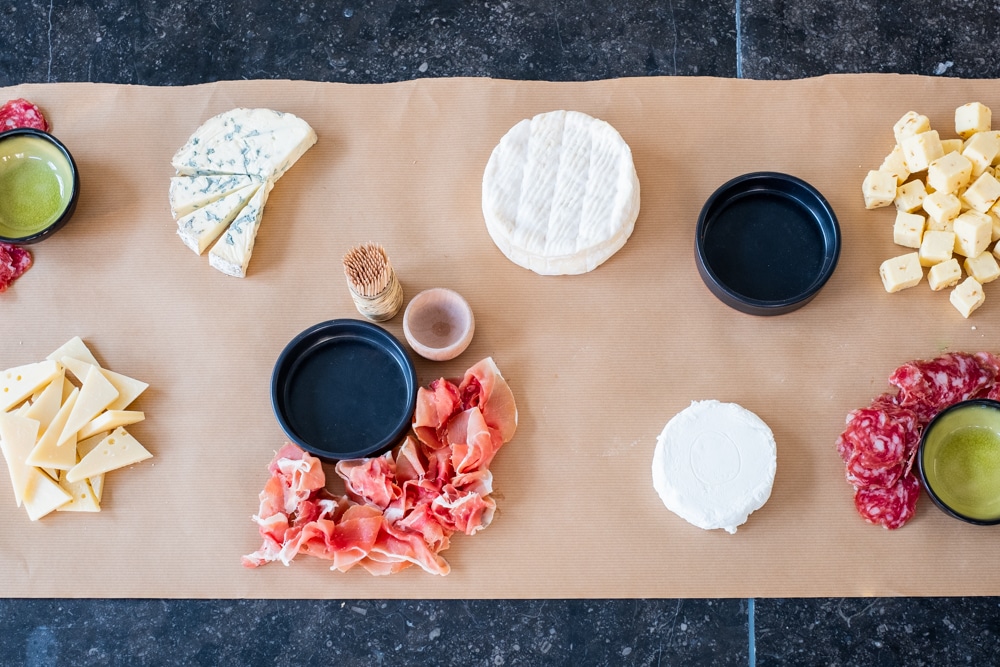
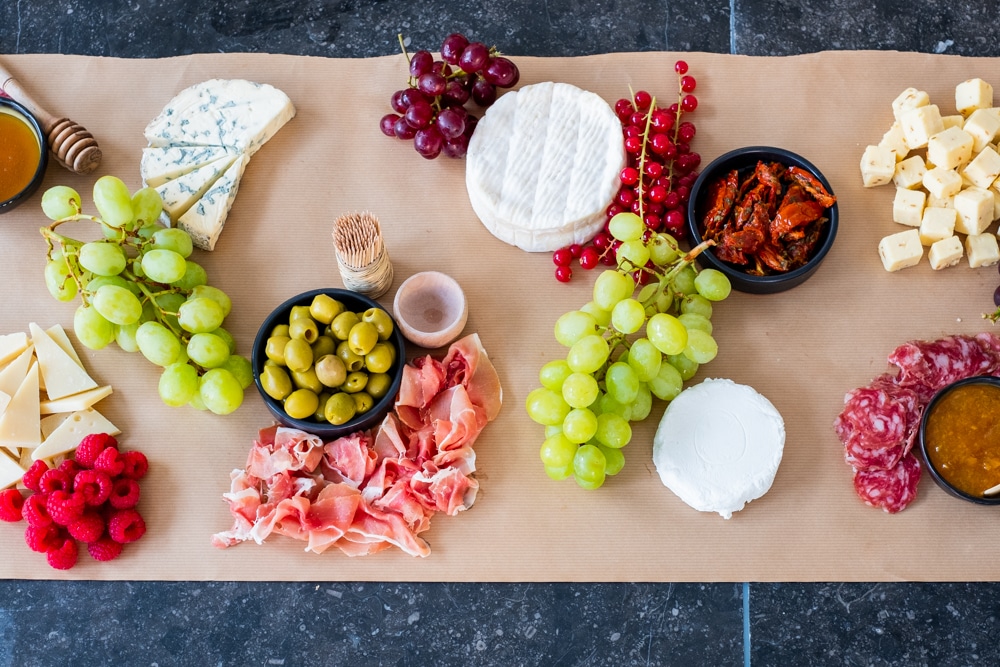
Not everyone loves cheese, but that’s no reason to skip the board. Add a few non-cheese options and everyone’s happy! Include freshly sliced salami and cured ham, along with a few dips (see below). Don’t put the meat on the board straight from the package. Separate the slices and fold them into triangles or ruffle them up. It instantly looks more festive.
Step 4: Add bowls and dips
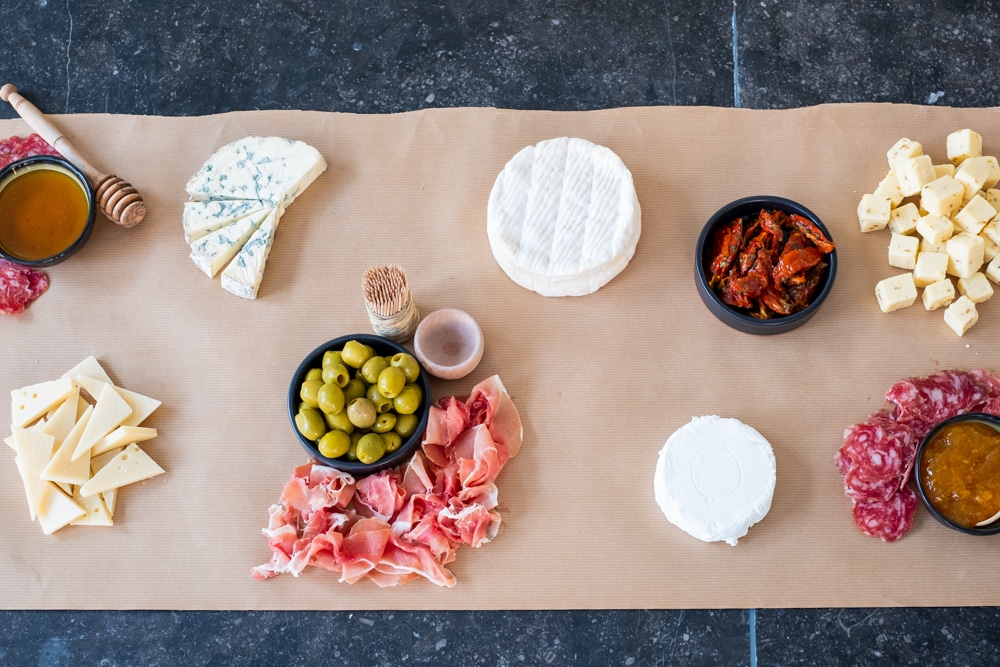
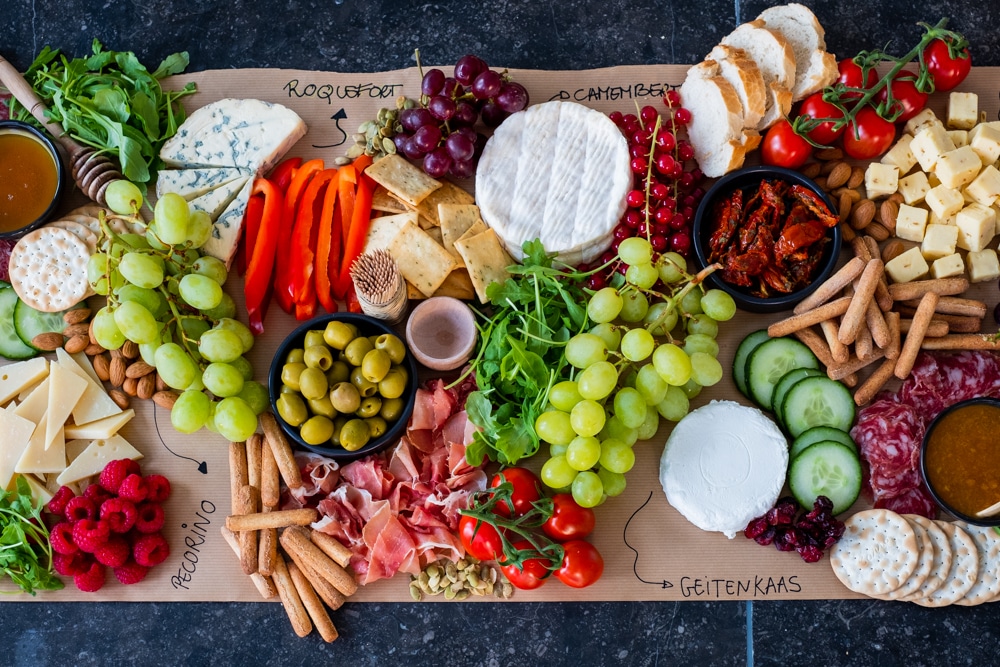
As you can see, I put the little bowls on the board together with the cheese. They shape how you’ll style the rest of the board. What goes in them is completely up to you. Pick a few dips, like honey, jam, chutney, mustard or hummus. Or go for small bites like capers, olives, sun-dried tomatoes, pickled pearl onions or gherkins. The little jar next to the olives is for the pits, in case you were wondering. ;)
Step 5: Add fruit
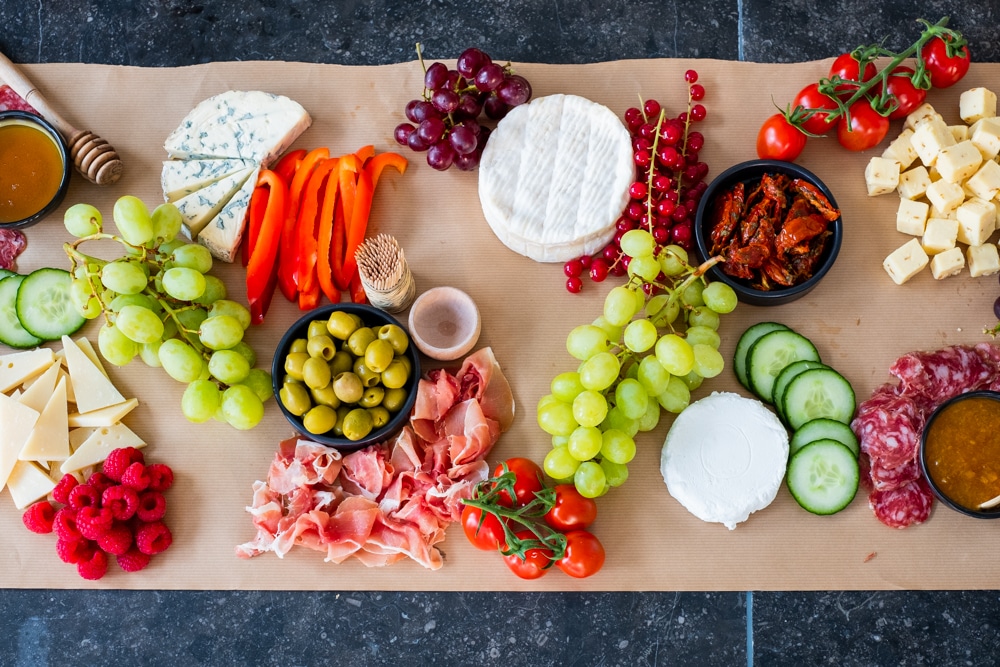
Every cheese board needs fruit, but don’t limit yourself to classic grapes. Fruit (and vegetables) bring lots of color to your board, which is beautiful to look at. Rinse the fruit well in advance so it’s completely dry when it goes on the board. That way everything stays dry.
Step 6: Add vegetables
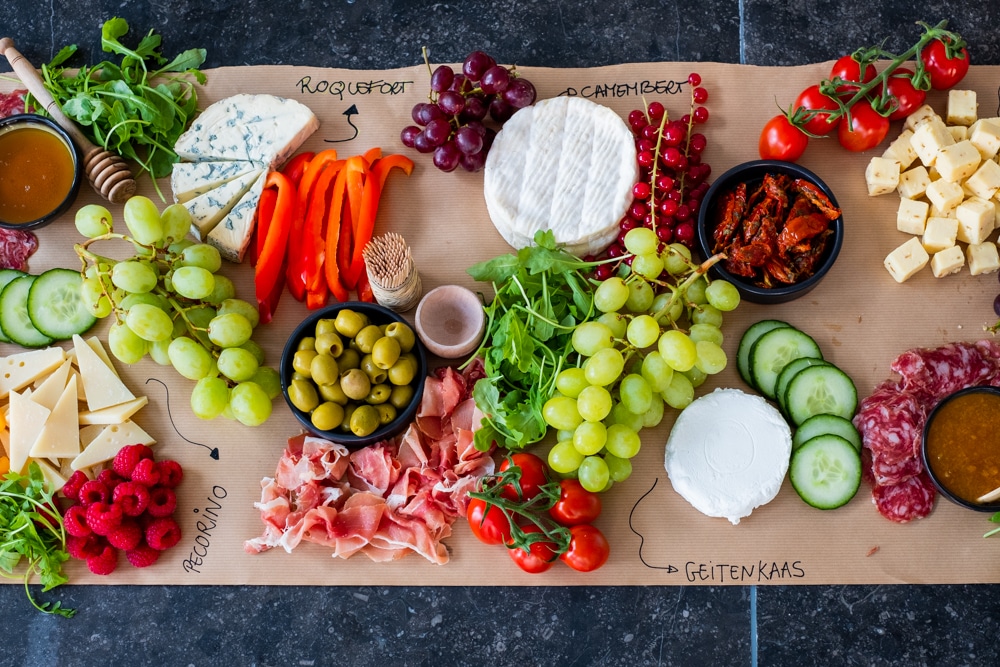
Vegetables are rarely served on a cheese board, and I think that’s a shame! Pick your favorite raw vegetables and arrange them around the cheeses, just like the fruit. Cut them into bite-size pieces so people can start snacking right away. Arugula adds a festive touch and is perfect for filling bigger gaps on your board.
Step 7: Label your cheeses
If you’re anything like me, you forget the names of the cheeses you bought right away. So it’s important to write the names down somehow. Use little flags, a gift tag (so pretty!) or write directly on the kraft paper. It’s original and adds a personal touch.
Step 8: Add bread, crackers and breadsticks
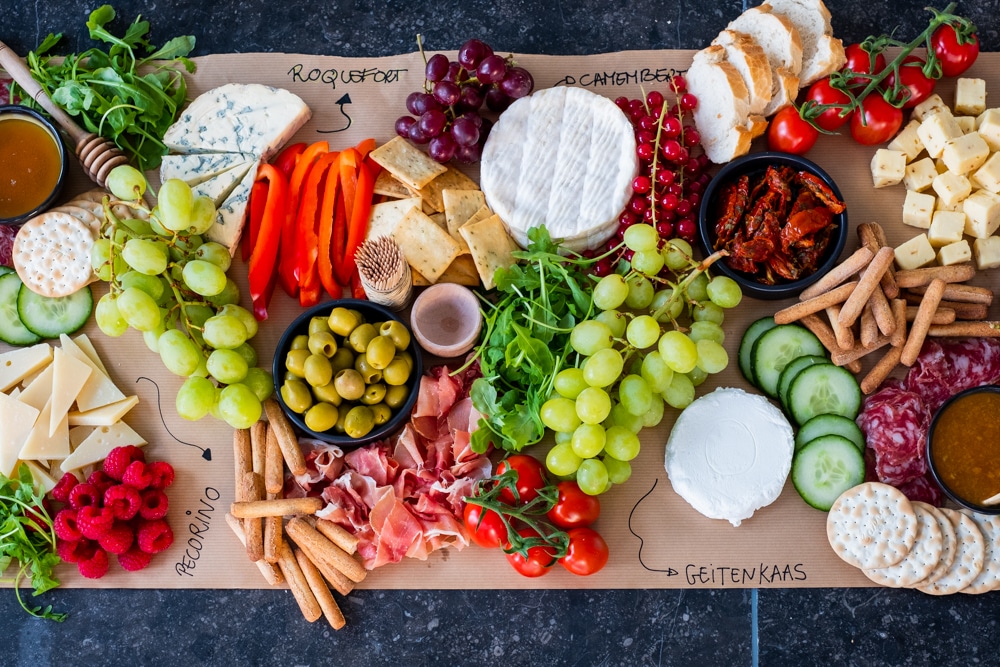
Serve the bread on the side on a separate board, or place it right on the board. Go for variety here too (that’s me again). Think pre-sliced baguette (so handy for happy hour), crackers, breadsticks, seed crackers or even lettuce leaves. Alongside the white options, add a few whole wheat or multigrain ones.
Step 9: Fill the gaps with dried fruit and nuts
By now your board should be nicely full. Fill the smaller gaps with handfuls of nuts, dried fruit and seeds. My favorites? Almonds, pecans, dried mango, dates, cranberries and pumpkin seeds. But choose whatever you like!
Step 10: Add the finishing touches
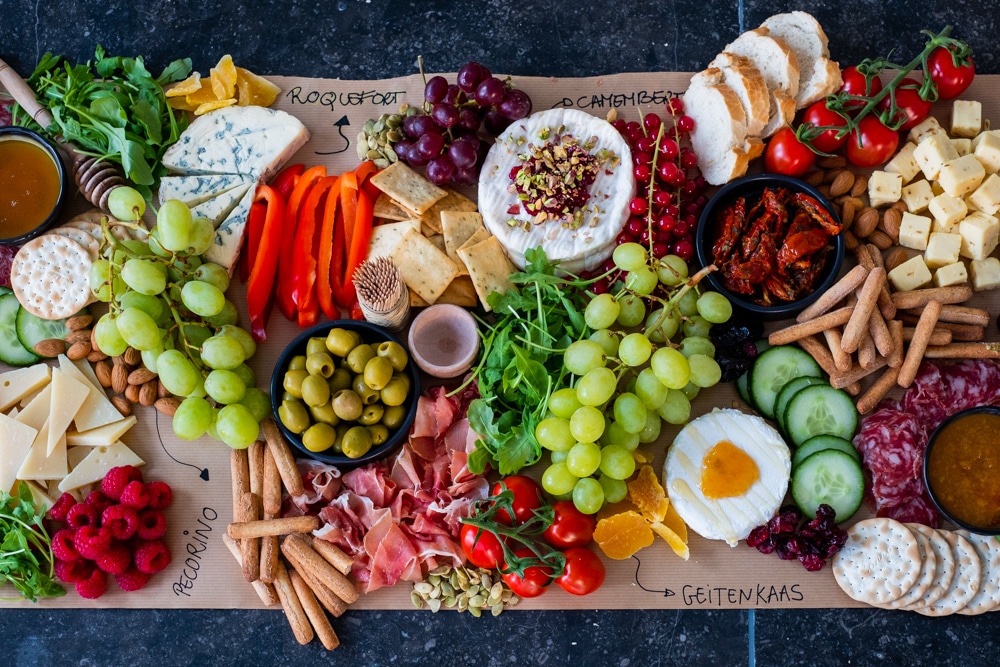
Finish your board with cheese knives (I forgot them!) and dress up any cheeses that look a bit plain. Spoon jam over them with chopped nuts, or drizzle with honey. Or pop the Camembert in the oven for a little while. Ideally, serve it on a small separate wooden board that you set on top of the big one.
Enjoy your cheese board
That’s it! You’ve made a beautiful cheese board. Have some time left? Make something extra to go with it, like pesto mozzarella pull-apart bread, a cream cheese dip with cranberry sauce or baked Camembert with honey.
Enjoy!